


Overnight No-Heat Curls Made Simple: Step-by-Step Guide for Effortless and Beautiful Hair
Overnight No-Heat Curls Made Simple: Step-by-Step Guide for Effortless and Beautiful Hair
If we said you could literally wake up with perfect Beyonce waves without using a hair curler, would you believe us? Probably not, because bed hair equals a frizzy mess, right? Well, let us introduce you to a whole new era of hair curling with heatless curls. That’s right ~ no heat curls ~ curls. That means no curling iron, no waking up in the early hours of the morning to style your hair and needing nothing but the Puffy Cord!
 |
| Milinnery x No heat curls by Ioana |
You’re probably wondering what is that and how it works. We’ll get to that soon!
Heatless curls have been around for centuries, we’re talking since the 1800s. But, they slowly lost their popularity as we started looking for ways to get instant curly hair (due the invention of the curling iron). However, more and more people have been looking at ways they can minimise damage to their hair, which has seen the heatless curls trend resurface yet again.
Today, we are going to teach you how to achieve heatless curls, as well as talk through some of the reasons why we love them so much. As this method is heatless, it does mean you need a few extra hours to make it work - so the best thing to do is to sleep on it! So before you go to bed follow these steps!
Overview:
What you will need:
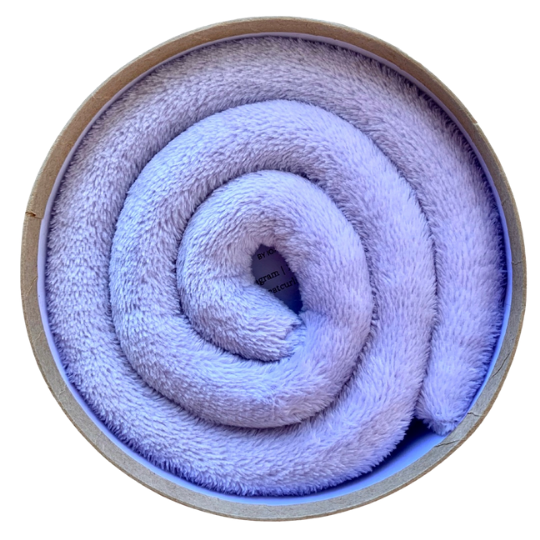
- The Puffy Cord for No Heat Curls
Styling tip: use it on damp hair, not too wet, not too dry if you want beautiful tighter, bouncier curls.
15 easy steps - 5 to10 minutes for perfect overnight curls
1. Wash your hair or spray a bit of water in your hair.
2. Next, use a comb to part your hair into two halves and pop the Puffy Cord on top of your head, a few inches back from the hairline. The Puffy Cord should ideally be sitting right at the top of your head.
3. You want to start with the front sections of your hair first (so this is all the parts at the front of the Puffy Cord).
4. Starting on one side, take a 2-3 inch section of hair from the very front of your face. Wrap it tightly over the Puffy Cord, bringing it all the way back to the front, so you are wrapping the piece of hair away from your face. Make sure your hair is smooth and all hairs from the small piece are wrapped well.
5. Still holding that first section tightly, grab another section of hair and combine it with the piece you already twisted, then wrap them over and under again.
6. You are going to repeat this process, grabbing more strands of hair from the front of your face until you’ve collected all the hair in front of the Puffy Cord.
7. Continue twisting until you reach the ends of your hair.
8. Secure the ends of the hair on the Puffy Cord with an elastic band (make sure you’re catching all the hairs left with the elastic band so not to get the fizzy effect on your beautiful ends).
9. Repeat this front section process on the other side of your head.
10. Next you want to work on the back sections of your hair. This is following the same over and under process, only you are bringing the hair towards your face this time.
11. Again, take 2-3 inch sections, and wrap them over the Puffy Cord, picking up more strands each time until you have collected all your hair and reached the end.
12. Secure with an elastic band again and complete on the other side of your head.
13. Once both sides are complete and all strands of hair are twisted around the Puffy Cord, it’s time to go to sleep!
14. After your much deserved beauty sleep, it's time to unravel your hair and reveal the results!
15. Once all your hair is untied, use your fingers to brush through the curls - you can also use a wide tooth comb to detangle the hair if needed.
Here's a video tutorial!
5 benefits of heatless curls
Heatless curls really are as simple as that, which is one reason why we are so obsessed. But on top of this, doing heatless curls has a number of extra benefits that make them that much better:
- Doing heatless curls reduces hair damage. Using heat on your hair excessively can cause tremendous damage to your locks, so if you do like to rock the curls often, heatless curls are a great way to achieve the same look, minus the heat damage.
- Heatless curls help reduce styling induced hair loss. From heat damage to the snagging and pulling of using a hot tool. Styling your hair can leave you with a pile of stray strands.
- You can say goodbye to split ends. Heat damage caused split ends, but not with Puffy Cord for No Heat Curls!
- Heatless curls keep your hair’s natural sheen. Excessive heat styling can cause hair to become brittle and dull, making it hard to maintain that natural glossy finish.
- Doing heatless curls takes hours out of your styling routine. Yes, you do need a few hours to get the hair to curl properly, however using this overnight method to curl your hair means one less thing to worry about in the morning!
So, are you ready to give heatless curls a go? See just how life changing this method is and discover a less hectic morning routine for years to come.


